
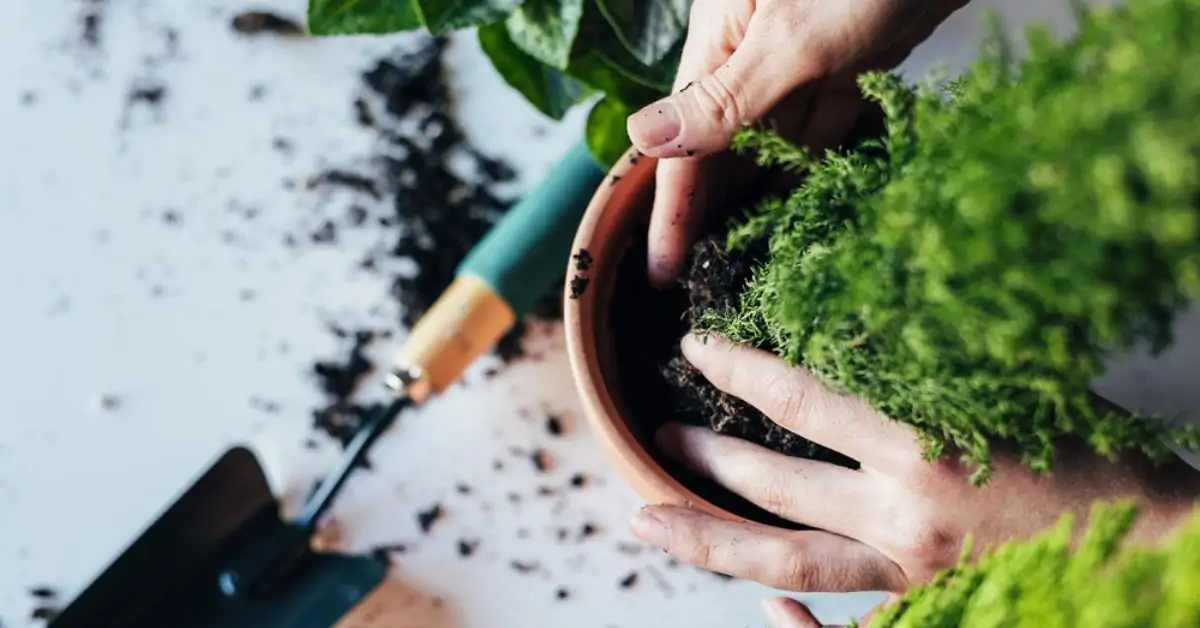
Why Repot Plants?
When a plant is left in the same pot for too long, it risks becoming depleted. Its roots, unable to grow freely, begin to coil on themselves and gradually occupy almost all the space in the pot. The substrate becomes less dense and nutrient-poor, and it can no longer hydrate and feed the plant adequately. Result: the plant’s growth stalls and the plant eventually withers more quickly than it would have if it had more room.
Repotting indoor, outdoor, or balcony plants is therefore an essential step to enjoy them longer by allowing your greenery to grow at its best.
How to tell when a plant needs to be repotted?
Several signs can help you know if your plant needs to be repotted into a larger pot or planter:
- If you notice roots poking out of the drainage hole, or if there is no drainage hole and they start to take over the substrate.
- The plant’s growth seems stalled.
- New leaves or flowers remain smaller than the earlier ones.
It may also be wise to repot a plant whose roots are rotting or being attacked by insects, or when the surface of the potting mix shows pale white mold spots. These signs indicate the plant has been overwatered or was repotted into poorly-drained soil. Therefore, aerate the roots, scrape the moldy surface of the potting soil, then repot the plant into a slightly larger pot with fresh, nutrient-rich and well-drained soil. Find below the steps in detail.
Repotting an indoor or balcony plant, step by step
If your plant needs to be repotted, here’s how to do it:
- Start by preparing the new pot, which should be at least 3 to 5 centimeters larger than the current one.
- Wash the inside of the larger pot, then if not already done, create a drainage hole to let the watering water escape. Place a layer of clay balls at the bottom to absorb excess water, then a few inches of fresh potting soil.
- Then gently loosen the soil ball and the wall of the current pot by tapping on it.
- You can also push on the soil ball through the drainage hole with your finger or a stick.
- If the root ball won’t come out of the pot, run a knife blade between the soil and the pot to help.
- Once the root ball is out, trim it back with your hands or other small gardening tools, removing 3 to 5 centimeters of soil all around.
- If necessary, cut away dry or badly damaged roots.
- Place the root ball in the center of the new pot, then fill all around with fresh soil.
- Tamp the top lightly with your hands, then water.
Don’t hesitate to give your newly repotted plant some fertilizer to help it take advantage of its new space and grow more easily.
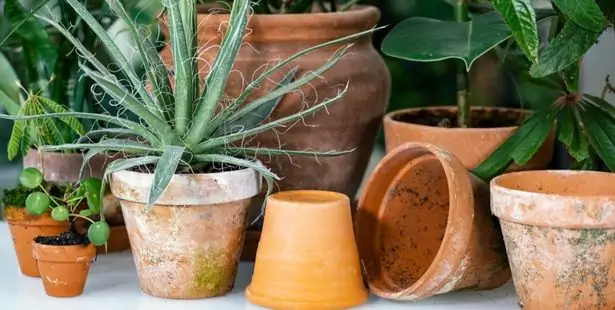
When to perform repotting?
Repotting your plant should be done when it no longer has room to grow. However, if possible, it’s best to wait until the end of winter or the start of spring to repot plants into a larger container. It’s during this period that plants emerge from their vegetative state and resume their growth.
Repotting or top-dressing?
Should you repot or simply top-dress a plant? It depends! If your plant has reached its adult size, there’s no need to repot unless it has been overwatered and it’s better to move it to fresh soil to prevent rot. An adult plant can then be satisfied with a simple top-dress, which involves scraping back the top few centimeters of soil to lay down a new layer of fresh substrate.
Top-dressing an adult plant is ideally done every year, or every two to three years depending on soil condition. Soil that isn’t refreshed often enough won’t retain moisture as well as a humus-rich potting mix. It will feel drier even with watering. This may signal that you should top-dress your plant.
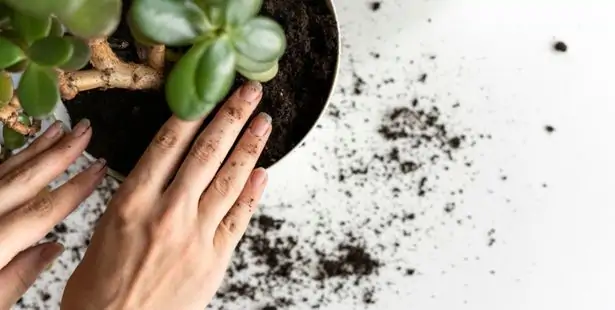
The top-dressing approach is also a good way to care for plants in large pots or wide troughs, which can be difficult to lift and repot due to their size. In that case, top-dress the soil more significantly, removing a good ten centimeters of old soil to replace with fresh.