
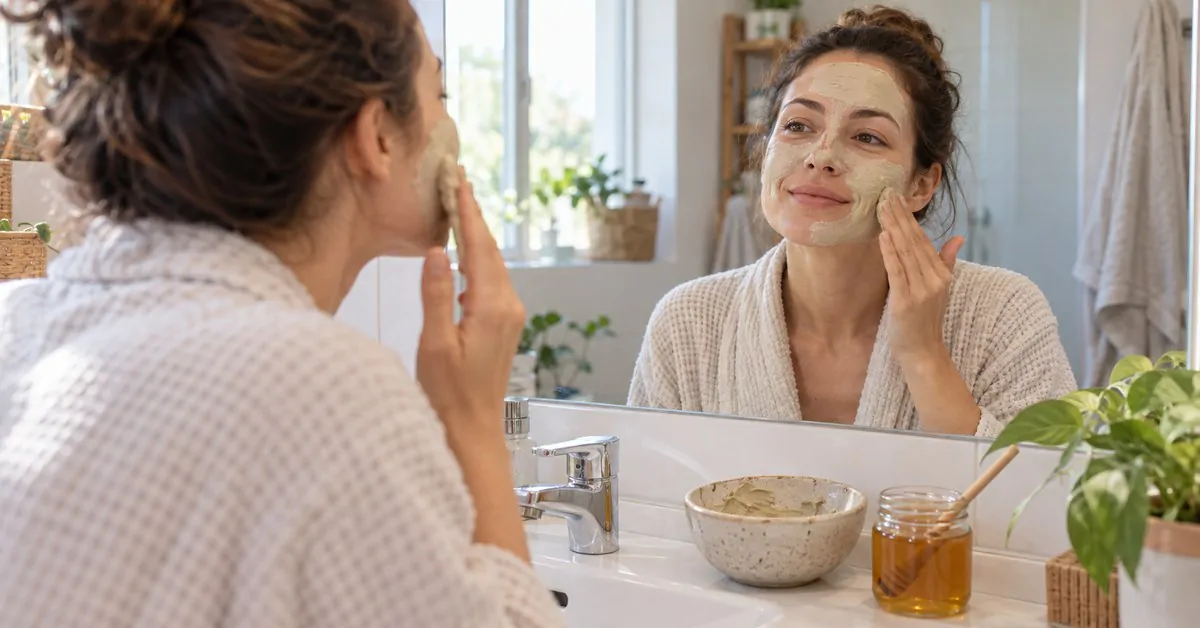
Your skin feels tight after getting back into the routine? This homemade mask uses three ingredients. Here’s how to use it without irritating your face.
The back-to-school season often brings back the daily commutes, city air, and busy days. If your complexion looks dull, a DIY treatment can complement a gentle skincare routine. Here’s a honey-and-clay recipe you can adapt to your skin, without giving it anti-pollution powers that it doesn’t have.
Why combine clay and honey for the back-to-school season?
Clay, whether green, white, or pink, acts like a magnet for impurities. Thanks to its absorbent properties, it draws out excess oil, pollution residues, and dead skin cells that have built up on the surface. It’s a raw mineral ingredient, with no industrial processing, that you can easily find at pharmacies, natural-food stores, or in bulk.
Honey adds a soft texture to the mixture. However, don’t expect this treatment to “neutralize” pollution, deeply repair the skin, or shrink pores. To remove the day’s residues, a gentle cleanse remains the base step. You can also explore other uses for clay.
Clay and Honey Facial Mask Recipe
For application: Prepare only the amount you need and use the mixture immediately.
Ingredients
- 2 tablespoons green clay for combination to oily skin, or white clay for drier skin;
- 1 teaspoon liquid honey, if you can tolerate it;
- about 2 to 3 tablespoons water, to adjust the texture;
- optional: 2 to 3 drops of jojoba or argan oil.
Preparation and application
- Pour the clay into a clean bowl. Add the water gradually and mix until you obtain a soft, easy-to-spread paste.
- Stir in the honey, then the oil if you’re using it. A clean stainless steel spoon works as well: brief contact with metal doesn’t destroy the clay’s properties.
- Apply a thin layer to clean skin, avoiding the eyes and lips. Avoid irritated or damaged areas.
- Let it sit for about 5 to 10 minutes, depending on your comfort. Rinse with warm water before the mask dries completely, without rubbing.
- Pat your face dry, then apply a suitable moisturizer.

A weekly application is enough to start. Space out uses if your skin feels tight; stop the treatment if redness or tingling occurs. There’s no need to finish with cold water: it doesn’t “close” your pores.
What to avoid
- Avoid using metal containers or spoons
- Do not let the mask dry completely on your face
- Always patch-test a new recipe in the crook of the elbow before applying to the face, especially if you have sensitive skin
Sensitive skin: take precautions
First, test the mix on a small area of skin. Avoid honey if you have a known allergy to bee products. If you have eczema, rosacea, or very irritated skin, consult a healthcare professional before trying a homemade mask.
A small beauty move that reduces packaging
Powder clay is dosed as needed and stores well when kept dry, in its sealed packaging. Buy only what you need, possibly in bulk, to limit packaging. A water-based mask doesn’t keep: discard any leftovers rather than saving them for a future application.
To diversify your homemade skincare, also try this carrot natural mask recipe.