

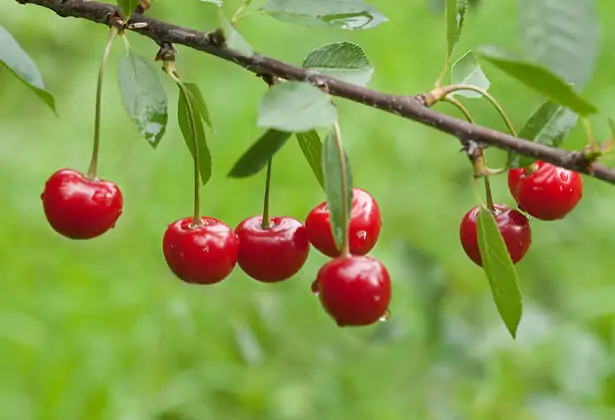
The cherry is a well-known fruit, widely grown in France for those who want to eat locally, and it is delicious in pies, jams, coulis, or clafoutis! Germinating a cherry pit to grow a cherry tree in your yard is a wonderful way to enjoy plenty of them.
Before Germinating a Cherry Pit
To germinate a cherry pit, choose it carefully. A question to ask yourself: what will you do with your cherry production?
Which cherry tree should you grow?
One cherry isn’t the same as another. This is true in terms of taste, but it is also true in terms of processing: jams, pies, jarred fruits, sauces, picked from the tree, etc. So many possible uses to consider based on what you want, to better choose the cherry (and thus the pit) that suits you.
Put all of this in perspective if, later on, you want to plant your germinated pit…
Choose the Right Cherry Variety
Prefer heirloom varieties that do not vary from one germination to the next to ensure the tree and thus the fruit you will germinate. Also plan the desired harvest time!
To ensure that the cherry tree you will plant after germinating your cherry pit is suited to your local climate, it’s best to learn about the variety most commonly grown in your area. Temperatures, soils, and other climatic conditions mean that some cherry trees will be more suitable than others to grow in your yard.
The Four Main Cherry Varieties
- The guignes, which have a soft flesh and are quite sweet.
- The bigarreaux, which are fairly large, are crisp if harvested at the right moment and are especially loved by enthusiasts.
- The griottes, which are excellent for juice and have a slight acidity that lends itself to many culinary adventures.
- The amarelles, which have good acidity and also yield juice, but lighter in color than that of griottes.
How to Germinate Your Cherry Pit
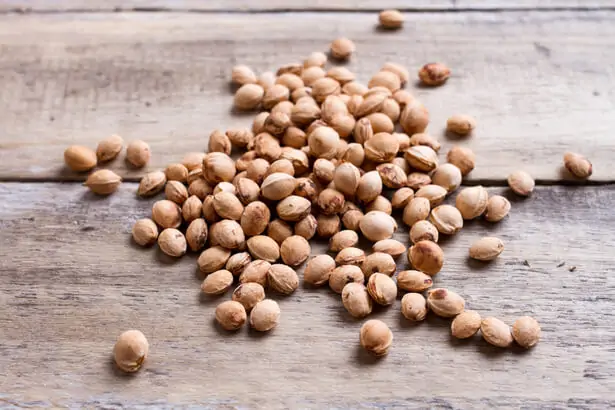
Once you have selected your cherry pit, thoroughly clean it with a brush under clear water. This will prevent any flesh remnants from rotting or risking algae and fungi that could harm the future seedling. Repeat the operation on five or more pits to increase your chances of success.
Before properly drying them, place them in a bowl of water to keep only the pits that sink; those remaining on the surface are already dead (the flesh remnants can skew the test).
Put the Pit in Soil
Take a terracotta pot about 4 inches (10 cm) in diameter or larger and place a layer of gravel at the bottom about three centimeters thick. Clay pebbles will also work; the goal is to prevent water from stagnating in the soil at the bottom of the pot.
Prepare a mix with 2/3 sand and 1/3 potting soil and garden soil from your orchard or elsewhere (in any case, the soil where you plan to plant your cherry tree).
Cover the gravel or clay balls with this soil up to halfway up the pot, place the cherry pits to germinate on top, and finish covering while ensuring the soil stays moist until germination.
Put It All in the Fridge
Seeds, kernels, and other seed types are all wrapped in a protective envelope. This outer layer serves a protective function, reacting to seasons and external conditions, and allowing or disallowing the germination of the sprout. Nature is well designed, especially in the case of the cherry, because if the sprout does not pass this envelope, it was too weak to survive: a brutal natural selection!
To “show” the cherry pit that it can germinate, you need to give it a winter. Put your pot in the refrigerator for 60 days before taking it out to place it in a sunny and warm spot, making sure to keep the soil consistently moist.
All that’s left is to wait for the appearance of your young cherry tree!
How to Plant Your Cherry Pit
Once your young cherry tree has arrived well (2–3 first leaves) and has gained a bit of vigor, move it outdoors if not already done (depending on the time of year you germinated it).
Find it a sunny spot (perhaps in a greenhouse), keep it warm, slightly sheltered from the wind to prevent it from drying out too quickly, and keep it always moist without letting water collect in its tray.
To ensure it becomes a tree rather than a shrub, select a branch (if it has several) as its future trunk by giving it a stake and removing leaves as they appear.
In the following autumn, and when the trunk reaches 12–16 inches (30–40 cm) in height, plant it in open ground. You’ll then only have to wait roughly 3 years to enjoy the first fruits, and the harvest will keep growing year after year!