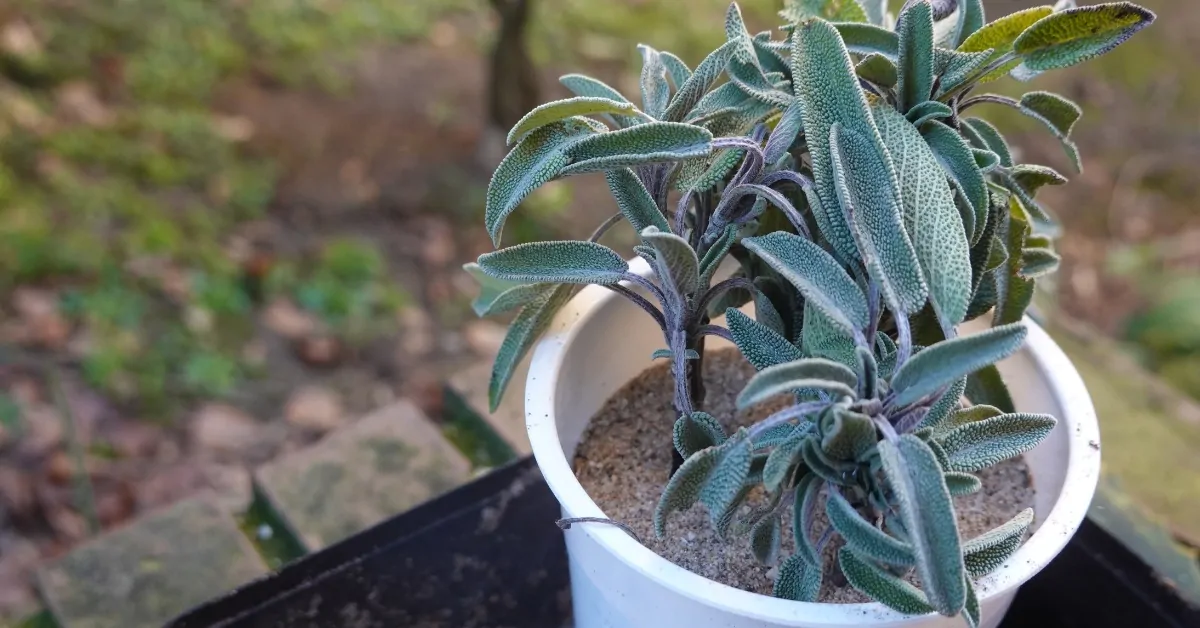
In September, sage still offers beautiful, highly fragrant leaves. It’s the perfect time to stock up before the cold. Harvesting, drying, freezing, care: here’s how to enjoy it all winter without weakening the plant.
Why harvest sage in September?
Common sage does not necessarily disappear with the first frosts. In milder regions, its foliage persists and a few leaves can still be picked in winter. However, September often marks the last generous harvest of the year.
The leaves remain healthy, fleshy and rich in aroma. Prolonged rains, frost and winter humidity can then damage them. Harvesting now helps preserve a high-quality sage for the coming months.
The main harvest remains ideal before flowering, when the leaves are especially aromatic. A second light cut in September can, however, valorize the new summer growth.
Did you know? Sage is a perennial herb. Its leaves can be harvested year-round, but the new shoots in spring and summer offer the best flavor.
How to harvest sage without weakening the plant?
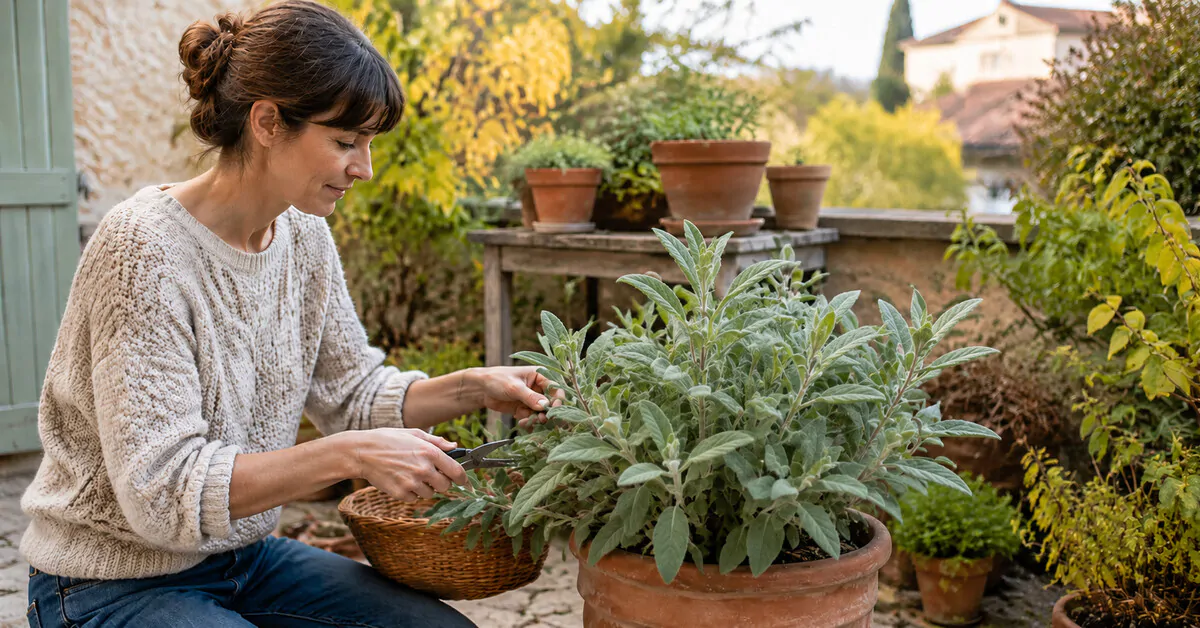
Choose a dry day. Wait until the dew has completely disappeared, then harvest before the heat of the day. Wet leaves dry more slowly and are more prone to molding.
Proceed with a few simple steps:
- use clean, sharp pruning shears or scissors;
- select healthy shoots, free of spots or signs of pests;
- cut the soft ends just above a pair of leaves;
- do not take more than a third of the foliage at once;
- leave the woody stems and the heart of the plant intact.
Above all, avoid hard pruning of sage in September. A heavy cut encourages tender shoots that are more susceptible to cold. It also reduces the plant’s natural protection during winter. A reshaping cut is best done in spring. It’s risky to cut into old wood, which resprouts poorly.
Cutting sage with pruning shearsTo deepen good practices, consult our guide dedicated to the best time to harvest and use fresh garden sage.
Should you wash the leaves after picking?
If your sage is clean and grown without treatment, shake the sprigs gently. Then check the underside of the leaves. This check is often enough before drying.
If washing is necessary, quickly rinse the leaves under a stream of cold water. Drain them and then dry thoroughly in a clean cloth. No drop of water should remain before storage.
Remove yellowed, stained or nibbed leaves. Also discard any that show a white fuzzy coating, a possible sign of powdery mildew.
How to dry sage?
Air-drying remains the simplest method. It uses zero energy and well preserves the leaf aroma.
- Gather four or five small stems.
- Tie them without tying too tight.
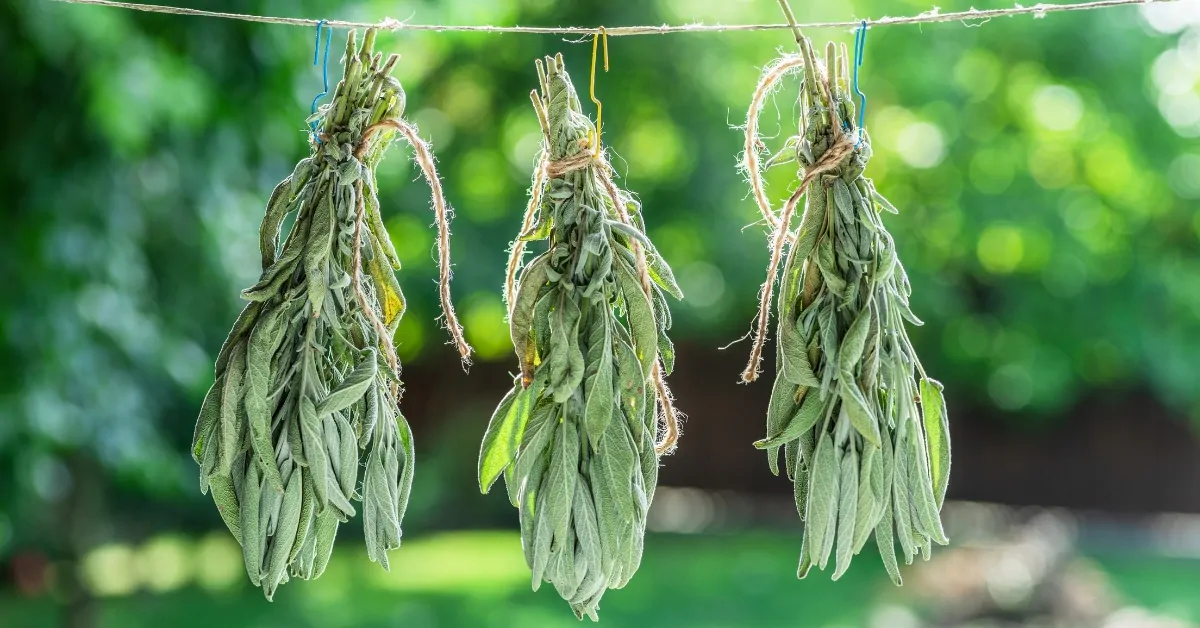
- Hang the bunches upside down.
- Choose a dark, dry, well-ventilated room.
- Let them dry for one to two weeks.
The leaves are ready when they become brittle and crumble between the fingers. Complete drying prevents any moisture from returning to the jar. Drying time varies with temperature and airflow.
You can also lay the leaves on a rack, avoiding overlap. Turn them regularly. A dehydrator set to a low temperature speeds up the process. The oven is less suitable, as excessive heat can degrade the aromatic oils.
Once the sage is dry, strip the leaves from the stems. Keep them whole in an airtight jar. You will crumble them only when you use them. This helps preserve their fragrance for longer.
Store the container away from light, heat and moisture. Label it with the harvest date. Dried herbs can keep for up to a year, though their aroma will gradually fade.
Can you freeze fresh sage?
Yes. Freezing preserves color and fresh taste better, but the leaves soften after thawing. Reserve them for cooked dishes.
Wash and dry the leaves thoroughly. Lay them out on a tray, then place in the freezer. When they’re hard, transfer to a bag or container. This pre-freezing prevents them from sticking together.
Another option: chop the leaves and portion them into an ice cube tray. Add a little water, then freeze. The cubes can go straight into soup, sauce or a simmered dish. Frozen herbs keep well for a year.
And in the refrigerator?
For a few days, wrap the sprigs in a slightly damp cloth or paper towel. Then place them in a container, not packed. Check periodically that no condensation forms.
What to do with harvested sage?
Its strong flavor calls for a light touch. One or two leaves are often enough to perfume a dish.
Sage pairs particularly well with:
- roasted squash and root vegetables;
- potatoes, gnocchi and pasta;
- white beans, lentils and chickpeas;
- mushrooms and autumn sautés;
- stuffings, omelets and butter-based sauces;
- apples and pears in certain sweet-savory recipes.
For a quick preparation, gently heat a few leaves in some butter. When they become crispy, pour the scented butter over gnocchi or roasted squash.
Sage can also be made into an infusion. However, regular or concentrated use requires precautions. Some people, especially those on medication, should consult a health professional. Find the benefits and precautions of sage before any medicinal use.
How to prepare the sage plant for winter?
After harvesting, remove only damaged leaves and withered flowers. Do not trim the plant down to the ground. In cold or exposed regions, keeping the above-ground part helps protect the base over winter.[
Sage fears damp, stagnant moisture more than the cold itself. Ensure water drains properly. In pots, empty the saucer and elevate the container. Place it against a sheltered wall if harsh frosts are forecasted.
Avoid thick, damp mulch directly on the crown. A mineral mulch or light protection is better for heavy soils. To learn about exposure, watering, and maintenance, discover how to plant and care for sage.
Take cuttings in September
A mature sage plant can become woody and less productive. In September, take some non-flowering tips of 8 to 10 cm. Remove the leaves from the bottom, then plant the cuttings in a light, well-draining mix.
Keep them in good light, not in harsh sun, with barely damp substrate. These young plants will serve as spring replacements. Propagation is also a safeguard against a winter that’s too damp.