
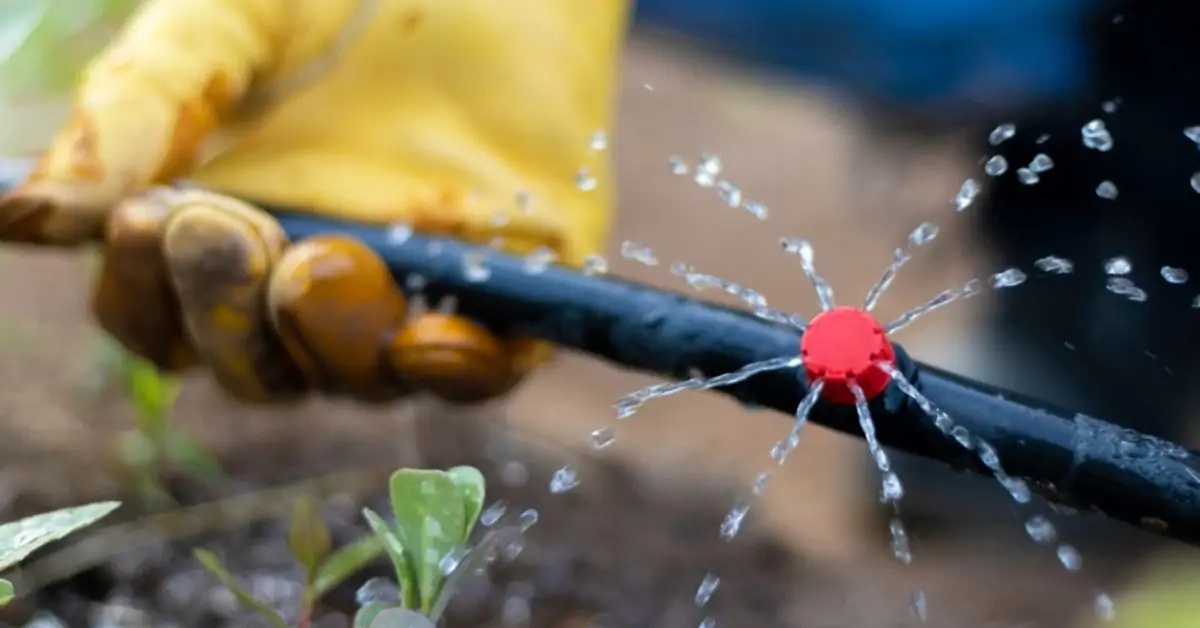
With every vacation departure, a question comes up for garden owners: how should you water it during a prolonged absence? Among the strategies to care for your garden while you’re away and have it looking its best when you return is drip irrigation. What exactly does it involve?
How does drip irrigation work?
The principle of drip irrigation is simple: deliver water to the base of plants through a hose, or a set of several hoses, equipped with emitters. Emitters are placed at the level of the plants, flowers, or crops to be watered.
These emitters have different flow rates, to be chosen according to each plant’s water needs. They can also be adjustable-flow, to fit every planting. The drip irrigation system consists of a main hose, whose diameter typically ranges from 13 to 20 mm. When this hose forms a network, it is connected to several other hoses via fittings. These hoses are generally more flexible and have smaller diameters (most often 4 to 6 mm).
To operate, this micro-irrigation device needs to be connected to a water supply with a hose bib. Drip irrigation systems also include other accessories such as a pressure regulator, valves to connect the primary hoses, anti-scaling and impurity filters, as well as end caps to close the line ends, and stakes to secure the whole system to the ground.
Other accessories complete the setup, such as a timer to automate the system and a soil moisture sensor, whose role is to enable precise adaptation of watering to actual needs.
The many advantages of drip irrigation
Why choose a drip system? First, for the autonomy of this irrigation method when it’s equipped with a timer. Installing drip irrigation lets you leave for vacation with peace of mind. Additionally, while it can be pleasant to water your garden in the evening or early morning, if the area to water is large, it can quickly become tedious.
Contrary to what one might think at first glance, this irrigation system isn’t really difficult to install, and it delivers regular water to the garden as well as the vegetable patch; enough to prevent drying out caused by missed watering.
Drip irrigation is also more economical, since it delivers water precisely at the base of the plants, avoiding waste from less precise watering. In addition, this low-pressure irrigation helps prevent damage to delicate plants, which higher-energy sprinklers can cause. It also avoids dampening the foliage of crops in the vegetable garden or ornamental plants.
Different drip irrigation systems
To install a drip irrigation system in your garden or vegetable plot, two main options are generally available: opt for a kit drip system or for a custom, on-site setup.
Drip irrigation in a kit: best suited for window boxes and terrace pots?
Kit drip irrigation systems typically offer a minimum pressure to water your plantings. They’re easy to assemble and can be connected to a water container such as a rain barrel or irrigation circuit. The drip kits can just as well water plants in a flower bed, a perennial border, or a straight-row vegetable bed.
But once your garden layout is more complex than a straight line, the kit drip systems available are less suitable. It’s better to turn to a custom irrigation setup that you assemble yourself.
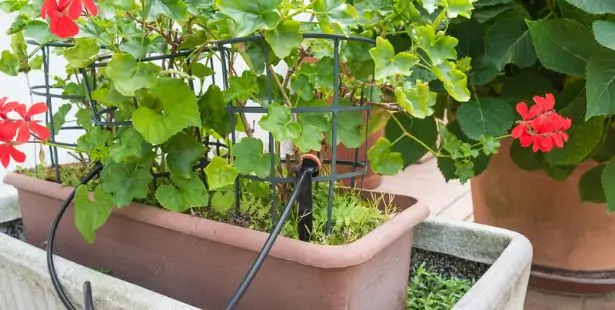
Custom drip irrigation: a system better suited for both gardens and vegetable plots
By choosing a custom drip irrigation system, you can create an irrigation network perfectly adapted to your garden or vegetable plot’s layout. Before heading to the garden center to buy the necessary gear, you’ll need an irrigation plan that will tell you precisely what you’ll need: how many secondary pipes, fittings, emitters, and so on. Walk around your garden and draw your own irrigation plan.
For a personalized drip irrigation, you’ll need a PE pipe (polyethylene) specific to drip irrigation, whose length you’ll choose based on your plan. The diameter of the main line should be selected with the desired flow in mind. Depending on the layout of your garden or vegetable plot, you’ll need a certain number of micro-conduits, with diameters smaller than the main line, which will form the secondary network. You’ll also need fittings to build this secondary irrigation network, choosing tees or crosses to create branches, or elbows for corners. It’s up to you to select them according to your irrigation plan.
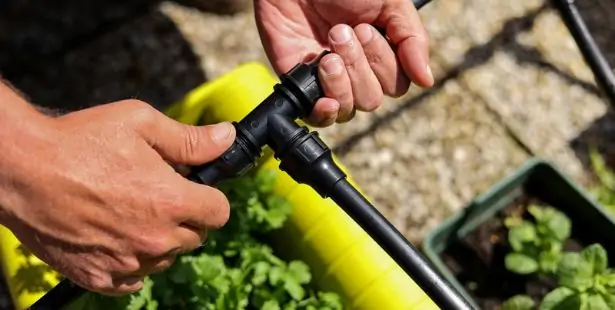
Note that ribbed fittings, the most common, are perfect for a low-pressure setup (2 bars maximum). You can secure them with hose clamps. If you want higher pressure in your network, prefer compression fittings, which tend to be more watertight. Ring-type fittings, on the other hand, guarantee ultra-durable results.
Finally, the entire setup should be connected to the water supply with a hose bib connector.
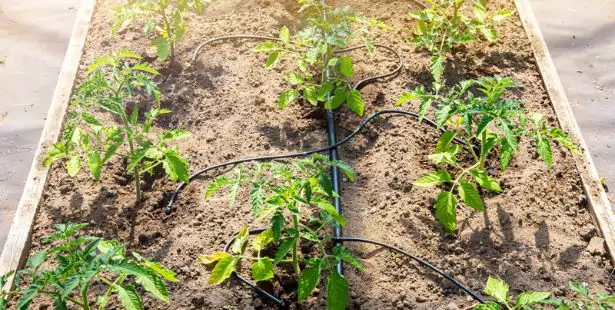
The different types of emitters
In garden centers and specialty stores you will also find a variety of emitters. Classic emitters, as well as adjustable emitters that allow you to regulate the flow for each plant. It’s up to you to decide whether your plantings are more uniform and need the same watering rate, or whether they have more diverse needs. As for self-regulating emitters, they can automatically adapt to your plants’ water needs, for even more autonomy.
Installing your own drip irrigation system
If installing a drip irrigation kit is easy, setting up a custom drip irrigation is a bit longer. Here are a few tips to make it easier:
- Plan in advance the necessary flow rate, as well as the length of each hose and the placement of the emitters.
- Then start by installing the hose bib, which you may equip with a timer, especially if you’re going away on vacation.
- You can then lay out the primary drip hose, cut it to the desired place before capping the end with an appropriate stopper.
- If branches are planned, arrange the fittings and connectors according to your plan. The secondary hoses can then be connected.
- Next, install the emitters at the desired spots by punching holes in the hoses with a drilling tool.
- Each end of the watering line should also be sealed with a cap suitable for the pressure.
- Finally, secure the drip device to the ground with stakes.