

A few ingredients are enough to make a solid shampoo tailored to your hair. An economical, practical recipe with no plastic packaging.
Solid shampoos are riding high, and for good reason: zero plastic, a compact format, ingredients you control. But many store-bought versions still contain harsh sulfates or surfactants of questionable origin. Here’s how to make your own gentle solid shampoo, sulfate-free, at a low cost.
Why avoid sulfates?
Sulfates (SLS, SLES) are highly foaming and cleansing surfactants, but also very stripping: they weaken the hair fiber, dry the scalp, and can intensify color fade. Making your own solid shampoo lets you choose a mild surfactant that respects the scalp while preserving real cleansing power.
The principle of homemade solid shampoo
Unlike a cold-process saponification recipe (which is more technical and requires handling lye), the simplest and most accessible method for beginners is to use a neutral solid cleansing base, already formulated without sulfates, which you can easily find from cosmetic ingredient suppliers. Melt it and then enrich it yourself according to your hair type.
The base recipe for solid shampoo (for a bar of about 80 g)
Ingredients :
- 80 g of neutral solid cleansing base (based on mild surfactants such as SCI — sodium cocoyl isethionate)
- 1 teaspoon of vegetable oil (castor oil for fine/oily hair, coconut or argan for dry hair)
- 5 to 8 drops of essential oil of your choice (rosemary to stimulate the scalp, lavender to soothe, ylang-ylang for dry hair)
- 1 teaspoon optional plant powder (nettle to fortify, clay for oily hair)
Materials :
- A bain-marie or a heat-resistant container
- A silicone mold (soap mold or mini muffin tin)
- A spatula or wooden spoon
Clean and dry the equipment, workspace, and mold thoroughly before starting. Avoid introducing water into the preparation, unless the base’s instructions specifically call for it.
Preparation of the solid shampoo
- Grate or cut the solid cleansing base into small pieces so it melts faster.
- Gently melt it in a bain-marie, on very low heat, stirring regularly.
- Do not exceed 60 °C (140 °F) to preserve the properties of the ingredients added later.
- Once melted, remove from heat and let it cool slightly.
- Incorporate the vegetable oil, the optional powder, then the essential oils.
- Mix quickly but not excessively (over-mixing creates foam and air bubbles).
- Pour into the silicone mold and let solidify at room temperature for 2–3 hours, or in the refrigerator to speed things up.
- Unmold and let dry in the open air for 24–48 hours before first use, for better longevity.
The melting temperature and time can vary depending on the base used. If the manufacturer specifies a different method, their instructions take precedence. Also note the production date on a small label to monitor the texture, scent, and appearance of the bar over time.
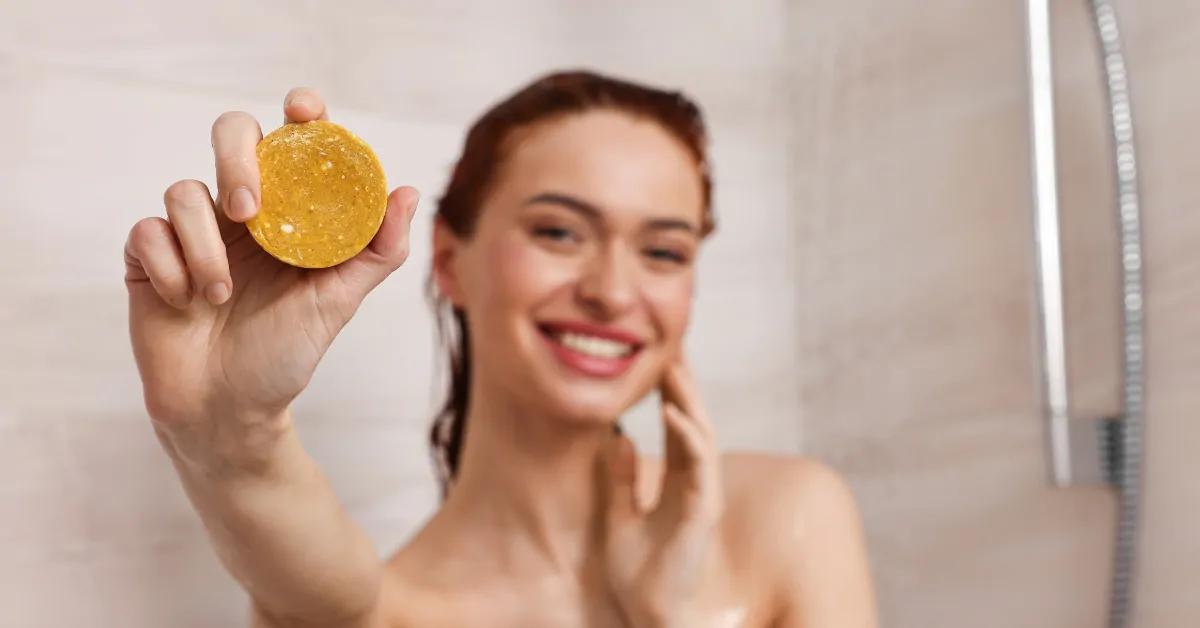
Adapt the recipe to your hair type
For oily hair, opt for a lighter jojoba oil, paired with rosemary or lemon essential oil, known for purifying properties, and a pinch of green clay to absorb excess sebum.
Be careful with lemon essential oil: some citrus scents can be photosensitizing. Check the precautions provided by the supplier or simply choose an unscented version.
For dry hair, prefer coconut oil or argan oil, richer and more nourishing, complemented by ylang-ylang essential oil, with no powder added.
For fine hair, which fears weighing down, a small amount of castor oil is enough, paired with rosemary and optionally a bit of nettle powder to fortify the fiber.
For color-treated hair, avocado oil helps preserve shine, and lavender essential oil adds a soothing touch, with no powder added.
In all cases, it is better to start with small additions. A too-generous dose of vegetable oil can reduce foam, soften the bar, and leave the roots heavy. Do not multiply actives either—a short formula is easier to test and adjust.
Essential oils: precautions to know
Natural does not mean harmless. Essential oils can cause irritation or an allergic reaction. They are not recommended, unless advised by a professional, for pregnant or nursing women and young children.
Do a patch test with the finished product and do not use the shampoo on a damaged or irritated scalp.
Gentle alternative : simply omit the essential oils. The shampoo will wash just as well and will be better suited for people sensitive to fragrances.
How to use it properly
A solid shampoo without sulfates foams naturally less than a conventional shampoo: that’s normal, foam is not a sign of effectiveness. Wet your hair well, rub the bar directly on the scalp or lather it between your hands before applying, massage, then rinse thoroughly.
There’s no need to apply it to all lengths: the foam that runs off during rinsing is usually enough to clean them. Start with a few passes only. You can add more if needed, but overdosing makes rinsing harder.
If your hair feels greasy or heavy, reduce the amount used, rinse longer, or decrease the oil in your next batch. Very hard water can also influence the result you feel.
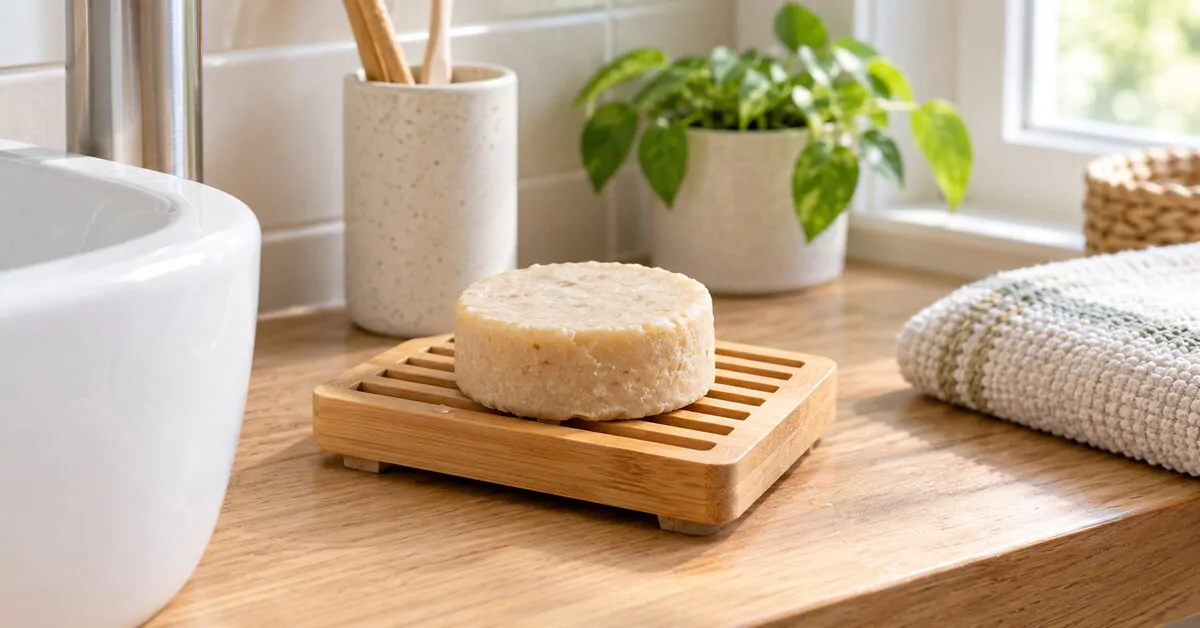
Conservation tip : always let the bar dry on a draining soap dish between uses, so it lasts for months.
Storage: when should you throw out the shampoo?
Store the bar away from splashes and don’t leave it soaking in a little dish. For travel, wait until it’s dry before tucking it into a clean, breathable box.
A solid formula without added water lowers the risk of microbial growth, but it doesn’t eliminate it if mishandled. Discard the shampoo if its scent, color, or texture changes markedly, or if unusual traces appear. When in doubt, don’t use it.
The economic calculation
A homemade solid shampoo bar costs a few euros for 60–80 washes, versus 8–12 € for a commercial store-bought solid shampoo of similar size — not counting the entirely plastic-free aspect.
Ecologically, the solid format reduces weight and volume to transport. Its overall footprint depends on where the ingredients come from and their packaging. So favor ingredients with simple packaging, bought in quantities you can finish.
Also read

Ethan Hartwell
I break down everyday products to understand what they truly contain and what they imply. My goal is simple: make information clear and useful so people can make more responsible choices without complexity or unnecessary noise.