
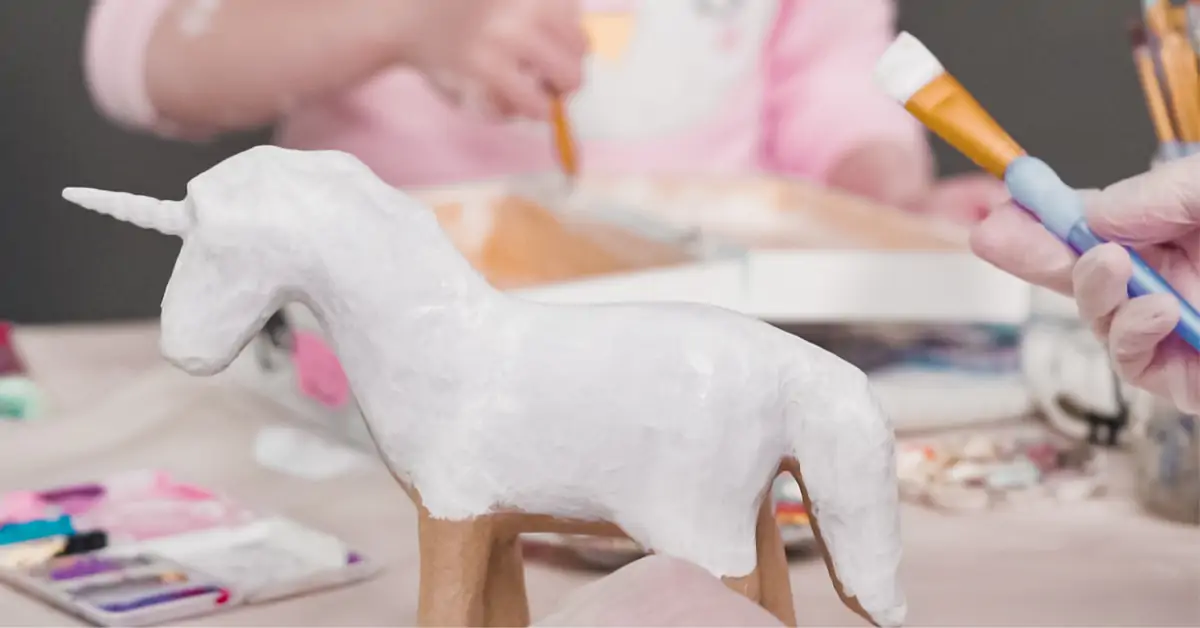
Christmas decorations, carnival masks, small storage solutions, and even furniture: you can create a wide range of decorations and small crafts at home with paper mache! It’s an eco-friendly option since it lets you recycle newspaper scraps or even books and cardboard, and it can be made with a natural adhesive. Here is our paper mache recipe.
Making Paper Mache and Some Decorating Ideas
You can make paper mache with old newspapers or books, but also with paper pulp mixed with small pieces of cardboard (cereal boxes, kraft bags, tubes, etc.). You’ll need to blend them with glue to create very sturdy decorative objects.
Our Recipe for Paper Mache Glue
Some people use wallpaper paste, but you can make paper mache glue with kitchen ingredients! A nearly free and non-toxic recipe, ideal for use with children.
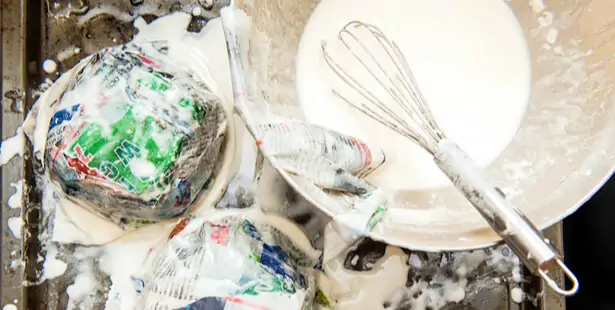
To make flour glue, you’ll need to whisk one cup of flour with one cup of water to obtain a lump-free paste. In a saucepan, heat four cups of water to almost a boil. Then pour your water/flour mixture into the saucepan and stir for a few minutes to achieve a bechamel-like consistency.
Wait for your homemade glue to cool before using. Use a brush or your fingers to dip your paper into the glue.
The Paper Mache Technique
Two techniques depending on the upcycled materials available:
- With newspaper or old books or magazines
Cut large strips of paper and dip them entirely into the flour glue. Choose a base (cookie cutter, balloon, dishware…) and lay glued newspaper strips onto it in several layers. Wait for the structure to dry completely before unmolding. You can then paint and varnish (or not) your paper mache decorative object!
- With small cartons
Tear your cardboard packaging into small pieces. Let these pieces soak overnight in water. Then blend everything with an immersion blender. You can add water if it becomes too difficult to mix. Place this pulp in a strainer to remove excess water.
In a bowl, mix this paper pulp with your flour glue (1 part glue to 3 parts paper pulp). As with newspaper, use a base and spread your mixture to a thickness of about 1 cm on the base, and wait at least a day for the paper mache to dry well before removing the base.
A Few Ideas: Paper Mache Decorations and Sculptures
You can create pretty Christmas decorations in paper mache using cookie cutters in round or star shapes. For this, fill the cookie cutters with paper pulp about 1 cm thick and let dry. You can paint them or leave them as-is for a rustic look.
The balloon technique is widely used to make paper mache spheres. Cover your balloon with glued newspaper. Once dry, pop the balloon with a pin. You’ll get a nice sphere you can paint to create, for example, a globe! You can also, with this technique, make a paper mache mask for carnival or Halloween. For that, glue a half-balloon, and once dry, cut holes for the eyes.
You can also make a bowl or a salad bowl in paper mache by using an existing porcelain piece as a mold. In this case, prefer the newspaper technique. Let dry, and trim the strips that protrude to create a clean edge. Great for holding dried fruit or bread!
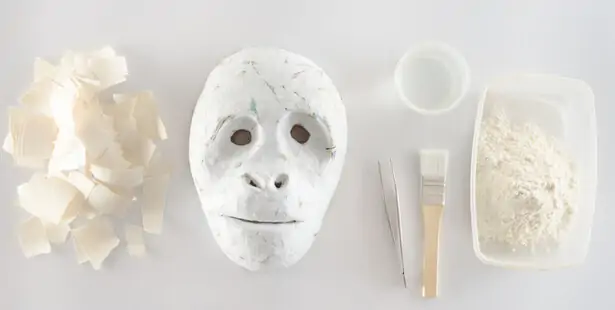
To create paper mache sculptures, you can also start without a mold and sculpt small (or large) figures by kneading your paper paste. Some artists use paper mache to create life-size sculptures! For this, they typically use a wire armature to build the sculpture. The possibilities are endless!
Some Paper Mache Project Ideas You Might Consider:
Creative Masks: Shape a mask on a balloon, then apply layers of paper mache to build a solid base. Once dry, you can paint and decorate the mask to suit your preferences.
Paper Mache Animals: Create animal sculptures using wire for the basic frame and add layers of paper mache for texture. Then paint the animals in realistic or imaginative colors.
Piñatas: Design piñatas for parties using the paper mache technique. You can shape them as animals, cartoon characters, or abstract forms. Fill them with candy and surprises for a fun activity at a party.

Decorative Letters: Shape alphabet letters using cardboard or foam as a base, then apply paper mache layers to create decorative letters. Paint them to match your space.
Decorative Home Objects: Create decorative items such as vases, bowls, or dishes using molds as a base. Apply paper mache to achieve the desired shape, then paint or decorate to suit your style.
Theater or Film Props: Use paper mache to create decorative elements for artistic projects, plays, or films. This can include rocks, trees, statues, etc.
Puppets: Create original puppets using wire for the structure and paper mache for the head and body. Add details with paint and fabrics for costumes.
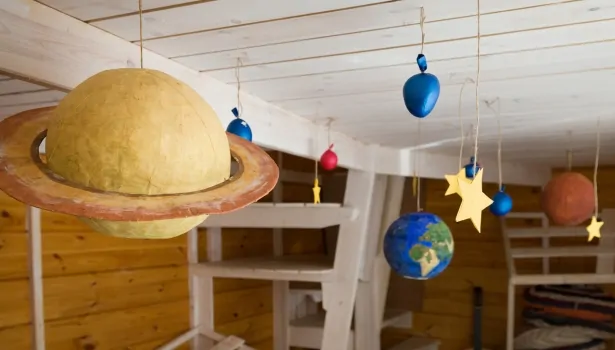
Miniature Globe Earth Models: Create small globes using a ball as a base. Apply paper mache to form the landmasses, then paint the continents and oceans.
Feel free to customize these ideas to suit your artistic tastes and specific interests!
Also read Also read
Give newspaper a second life