
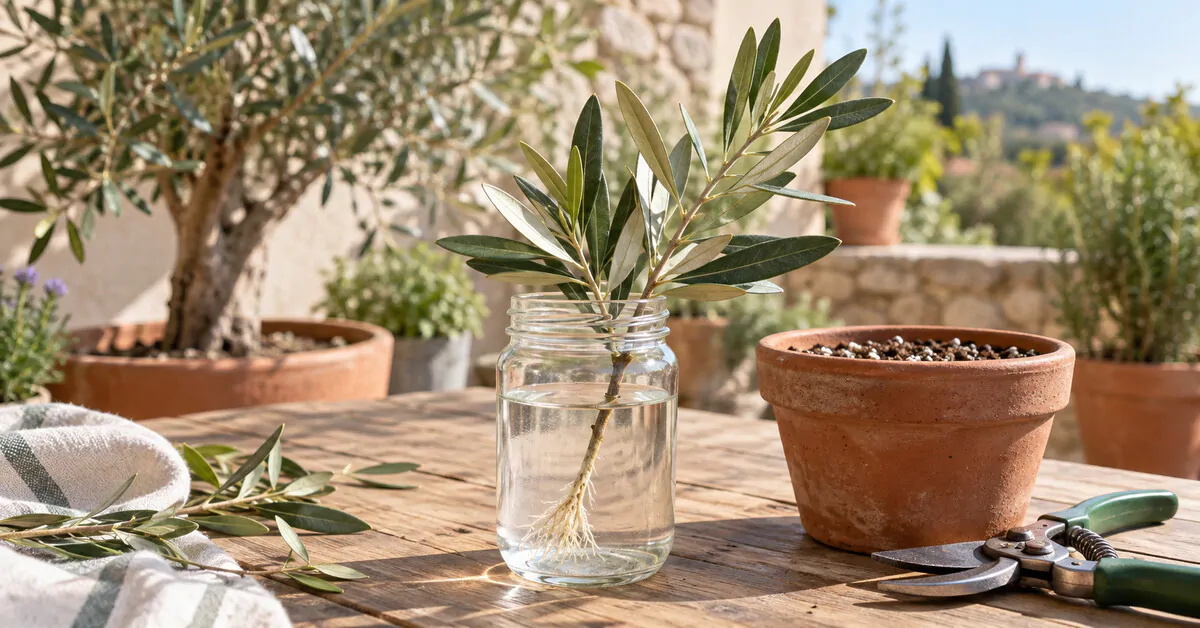
The olive tree (Olea europaea) is a beloved Mediterranean plant not only for its olives but also for its hard wood and evergreen leaves. While growing olives is often associated with a Mediterranean climate, the tree can thrive in other regions as well, provided it receives the right care. In this article, we explore three methods for cultivating this iconic tree: germinating from a pit, taking cuttings, and how to root an olive cutting in water.
Growing an Olive Tree from an Olive Pit
Growing an olive tree from an olive pit is a fun and educational method, even though it requires a lot of patience. To start, choose fresh, ripe olives, preferably picked directly from a tree. Canned or processed olives should be avoided because they have often undergone treatments that inhibit germination. Once you have your olives, carefully remove the pits, taking care not to damage them. Clean them by removing any remaining pulp.
Cold stratification is often recommended to boost germination rates. Place the cleaned pits in a plastic bag containing a little damp sand or peat and refrigerate for four to six weeks. After the stratification period, the pits are ready to be planted. Use well-draining soil, slightly acidic to neutral, and plant the pits at a depth of about 1 to 2 cm (roughly 0.4 to 0.8 inches). Place the pots in a warm, sunny location, keeping the soil lightly moist.
Propagating an Olive Tree by Cuttings
The cuttings method is often preferred for multiplying olives, as it allows you to reproduce the parent tree’s characteristics more faithfully. The ideal time for taking cuttings is usually late summer or early fall. Choose a healthy, vigorous shoot about 8 to 12 inches (20 to 30 cm) long and remove the leaves from the bottom half. Plant this cutting in a pot filled with a light, well-draining potting mix. To encourage rooting, maintain high humidity by placing a plastic bag or a clear glass dome over the pot.
How to Root an Olive Cutting in Water
Rooting an olive cutting in water is an alternative to planting directly in soil or potting mix. This method lets you easily monitor root development and can also yield a high success rate. Here’s how to proceed:
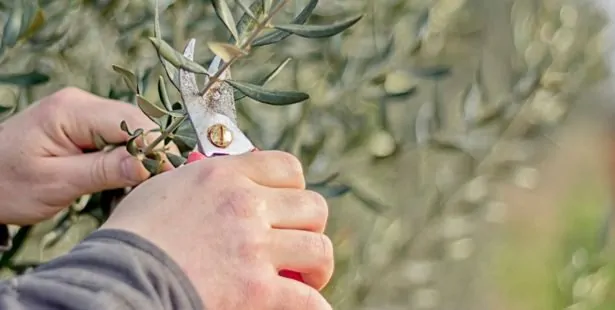
Start with a healthy shoot from a well-developed olive tree. Ideally, this cutting should be about a year old and 8 to 12 inches long. Use clean, sterilized pruning shears to make the cut, ideally at a slant to increase the surface area that will develop roots. Remove all leaves from the bottom half of the cutting to prevent them from soaking in water, which could cause rot. You can also make one or two small vertical slits at the base of the cutting to stimulate root growth.
Place the cutting in a transparent container of water, making sure the portion where you removed the leaves is well submerged. Using a clear container makes it easier to monitor root development. Position the container in a bright location with indirect light, avoiding intense direct sunlight. Heat and light are essential for root growth, but too much direct sun can be harmful.
Be sure to change the water about every three days to prevent bacteria and mold. Also keep an eye on the water level to ensure the cutting remains submerged. After a few weeks you should start to see roots forming. Once those roots are several centimeters long, the cutting is ready to be transplanted into a pot of potting mix or directly into the soil.
After transplanting, continue to water regularly and place the plant in a sunny spot. It may be beneficial to apply a balanced fertilizer a few weeks after transplant to encourage growth.

Whether you choose to grow an olive from a pit or by rooting cuttings, each method has its advantages and drawbacks. Germination from a pit can be longer and less predictable, but it makes for an excellent educational project. By contrast, cuttings tend to be faster and preserve the parent tree’s traits, but they require a bit more gardening know-how. Whichever method you choose, olive cultivation remains a rewarding adventure that may someday reward you with a homegrown olive harvest in the years ahead!